Table of Contents
- Step 1: Immediate Internal Water Containment
- Step 2: Relieve Ceiling Pressure to Avoid Sudden Collapse
- Step 3: Safeguard Electrical Systems
- Step 4: Protect Household Contents and Furnishings
- Step 5: Safely Checking the Loft Space
- Step 6: Mitigating Secondary Moisture and Preventing Mould Spores
- Step 7: Assessing Structural Timber Soundness and Plaster Lath
- Step 8: Documenting Damage and Arranging Professional Repair
When you discover an active roof leak, your immediate priorities are to contain internal water ingress, safeguard household electrical systems, protect furniture, and contact an experienced roofing contractor. Taking prompt, structured action inside the property significantly reduces interior damage while avoiding the severe personal hazards associated with climbing onto roofs during adverse weather.
Step 1: Immediate Internal Water Containment
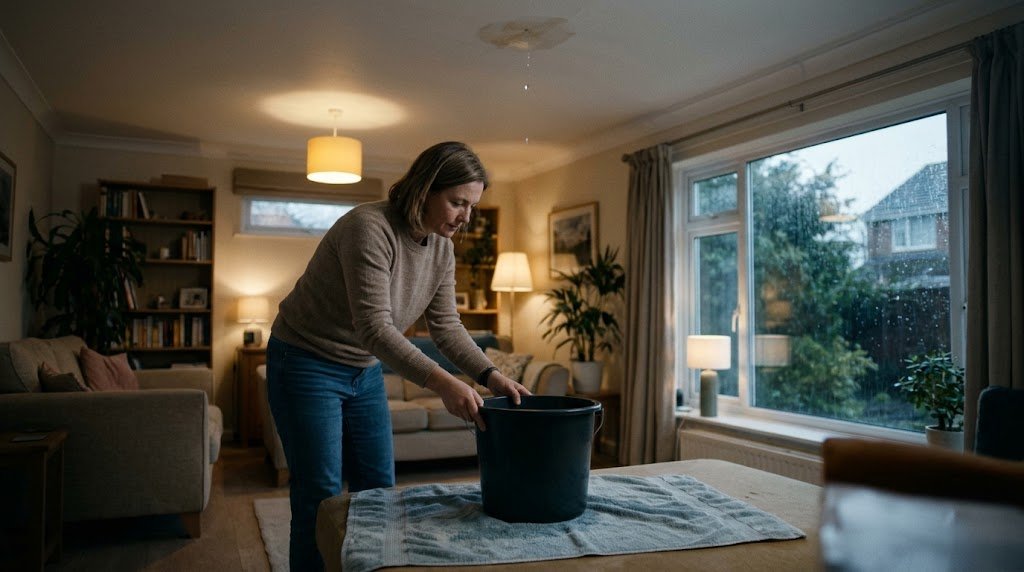
The moment water penetrates a ceiling or runs down an internal wall, place large, sturdy plastic buckets, storage tubs, or cooking pots directly beneath the drip point. Place old towels or thick blankets around and beneath the buckets to absorb splashing and protect wooden floors, carpets, or laminate underlay.
If water is running along a roof rafter or electrical pendant fitting, tie a piece of string or wire around the joist and hang it into the centre of the bucket. The water will follow the string smoothly down into the container rather than spraying across the room.
Step 2: Relieve Ceiling Pressure to Avoid Sudden Collapse
When water accumulates above plasterboard, it pools in low spots between joists, creating a noticeable water blister or soft, sagging bubble. Plasterboard becomes heavy and structurally unstable when saturated, creating a real risk of widespread ceiling collapse.
To control this, position a bucket directly beneath the centre of the water bulge. Using a screwdriver or pencil, carefully pierce a small hole in the lowest point of the sag. The trapped water will drain continuously into the bucket in a controlled stream, relieving the immense weight on the ceiling joists.
Step 3: Safeguard Electrical Systems
Water and electricity represent an immediate and potentially fatal hazard. If water is dripping through or near a light fitting, ceiling fan, smoke detector, or wall socket, do not touch the switch or fixture.
Go directly to your consumer unit (fuse box) and isolate the electrical circuit feeding that floor or room. If you are uncertain which circuit breaker controls the affected area, switch off the main electrical supply switch and contact a registered electrician alongside your roofing specialist.
Step 4: Protect Household Contents and Furnishings
Move valuable electronics, upholstered sofas, wooden furniture, and sentimental items into an adjacent dry room immediately. For large or heavy furniture that cannot be moved, cover items completely with heavy-duty polyethylene decorating sheets or plastic tarpaulins, securing the edges with masking tape to keep moisture out.
Step 5: Safely Checking the Loft Space
If safe access is available via a fitted loft hatch, inspect the attic space with a high-powered torch. Be extremely cautious: only step directly onto secure timber joists or boarded walkways, never on exposed ceiling plasterboard or insulation blankets.
Inspect the underside of the roof slope for damp patches, dark discolouration, or glistening moisture tracks along rafters. Tracing water paths helps identify whether the entry point is an isolated broken slate, an unseated ridge tile, or a defective junction. Keep a bucket in the loft beneath any visible drip point to capture water before it reaches the ceiling below.
Step 6: Mitigating Secondary Moisture and Preventing Mould Spores
Once water containment is established, mitigating humidity within the home is vital. High moisture levels combined with warm indoor temperatures provide ideal conditions for black mould (Stachybotrys and Aspergillus) to colonise damp ceilings, plaster, and timber within 24 to 48 hours.
Open internal windows when external weather permits to promote continuous cross-ventilation, or run a portable dehumidifier in the affected room. Never apply vinyl emulsion paints, wallpaper, or plastic sheeting directly over damp plaster, as trapping internal moisture prevents structural timbers and masonry from evaporating naturally, fostering dry rot or wet rot outbreaks.
Step 7: Assessing Structural Timber Soundness and Plaster Lath
In older properties constructed with traditional lath-and-plaster ceilings, water saturation behaves differently than in modern plasterboard. Water dissolves the lime binder and weakens the timber laths, causing extensive plaster delamination over time. Once the emergency leak is contained, structural ceiling timbers and roof purlins should be carefully monitored for deflection or fungal spores.
Allowing timber joists to dry out completely before initiating decorative repairs is critical. Using a calibrated digital pin-type moisture meter ensures that timber moisture content drops back below 18% before fresh insulation or replacement plasterboard is permanently sealed in place.
Safety First: Why You Must Never Climb on the Roof
Under no circumstances should property owners climb onto roofs, dormers, or high-level ladders during an active leak or storm. Wet tiles and slates are exceptionally slippery, and strong gusts can dislodge ladders instantly. According to Health and Safety Executive (HSE Health and safety in roof work), domestic roof falls account for catastrophic injuries every year. All high-level repairs must be undertaken by certified, fully insured roofing specialists with proper working-at-height equipment.
Step 8: Documenting Damage and Arranging Professional Repair
Record extensive photographs and video footage of the leak, the water level in buckets, and all affected internal areas for insurance documentation. Contact an established local roofing contractor to schedule a site inspection once weather conditions allow safe access. For general statutory requirements regarding domestic roof repairs, visit the Planning Portal.
Sources & Regulatory References
Health and Safety Executive (HSE): Health and safety in roof work (HSG33)
National Federation of Roofing Contractors (NFRC): Homeowners Guide to Roof Repairs
Planning Portal: Guidance on repairs and maintenance to domestic properties
Frequently Asked Questions
Discuss Your Building or Roofing Project
AKF Builders is based on Clapham High Street, providing building works, new roofs, roof repairs, and guttering across Clapham, Wandsworth, Battersea, and Balham.
Related Guides
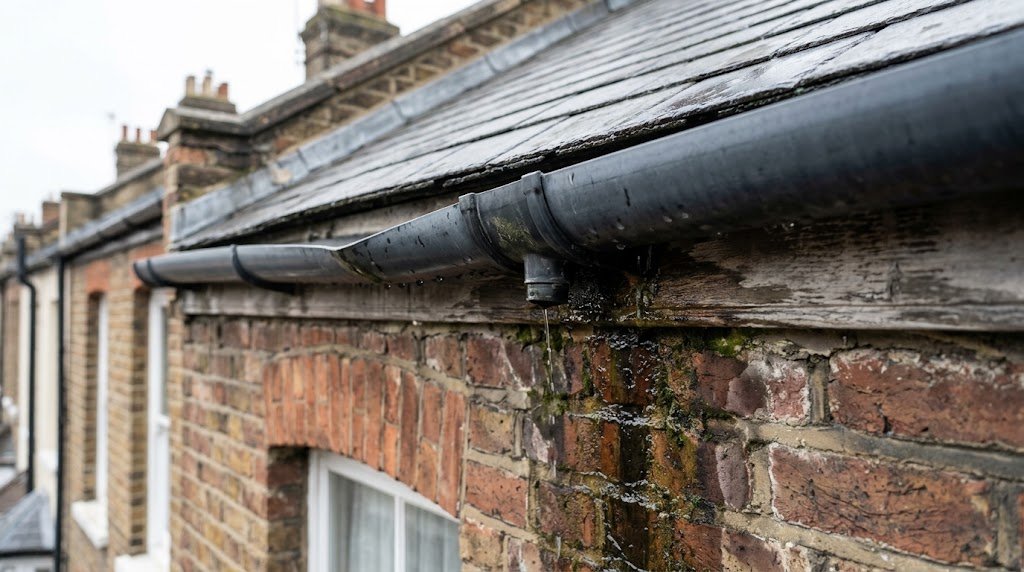
Signs your gutters need replacing
Learn how to identify key warning signs that your property’s gutters have reached the...
Read guide →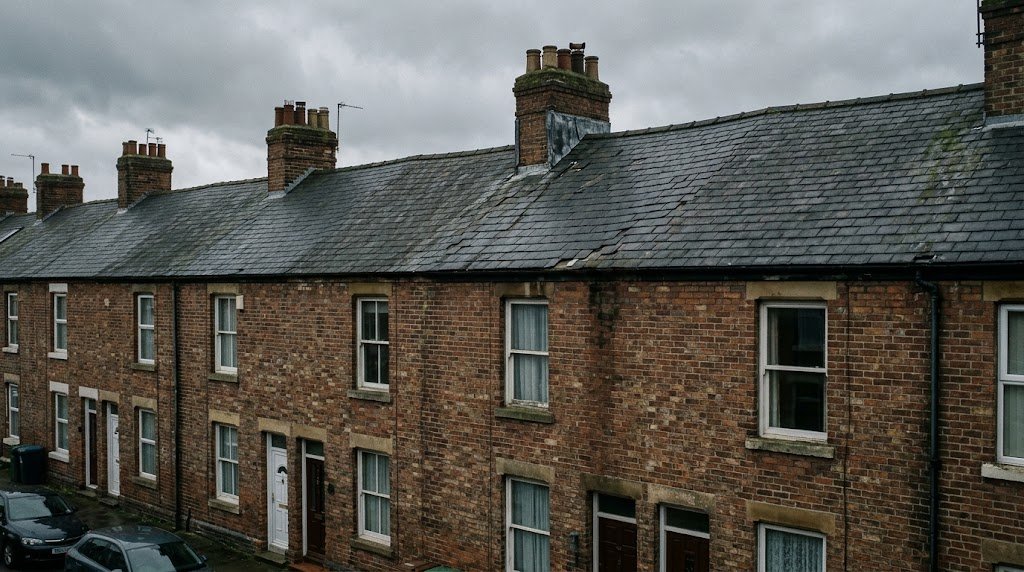
Common causes of roof leaks in older terraced houses
A guide for owners of Victorian and Edwardian terraced properties exploring common ca...
Read guide →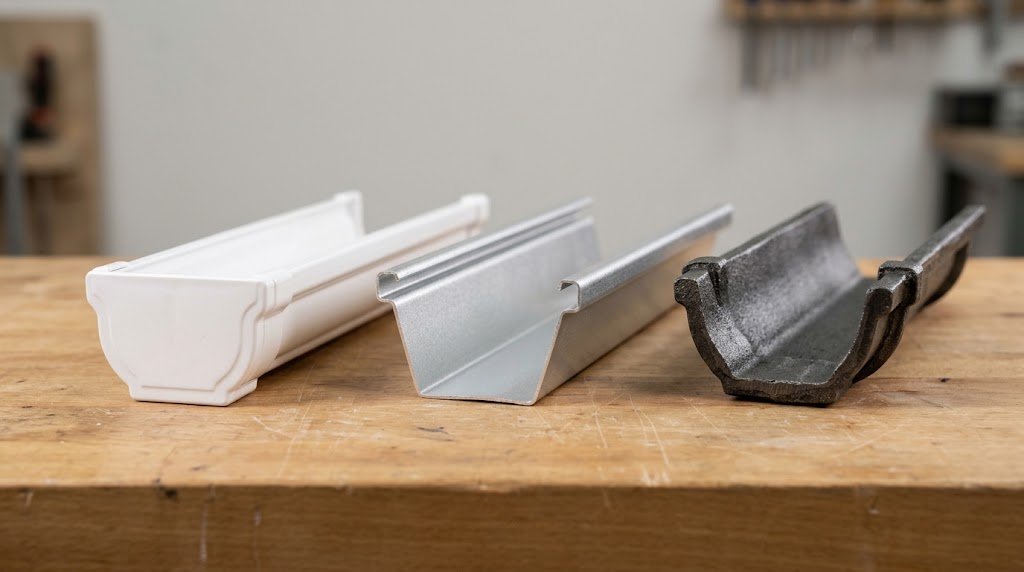
uPVC, aluminium and cast iron gutters compared
An unbiased technical comparison of uPVC, aluminium, and cast iron rainwater systems,...
Read guide →